Day One - Basic Mechanics
Note: I haven’t embedded the gifs because many of them are far too large to load up-front. Until I implement a library or other interface for gifs like Gfycat, I’m just going to place links here.
On the first day, as previously mentioned, I decided to work on basic mechanics to esablish a baseline for the feel of the game. I decided the game would be played on a single room with the entire room visible to the player. First, I made a level design. I would need this design to gauge the feel and responsiveness of my jump physics.
However, even before any of that, I first tried to have a working walk animation. While this seems out of order, this was because I had a friend help me out with the player animation, and it made more sense time-wise for his schedule to do the animation earlier.
Animation
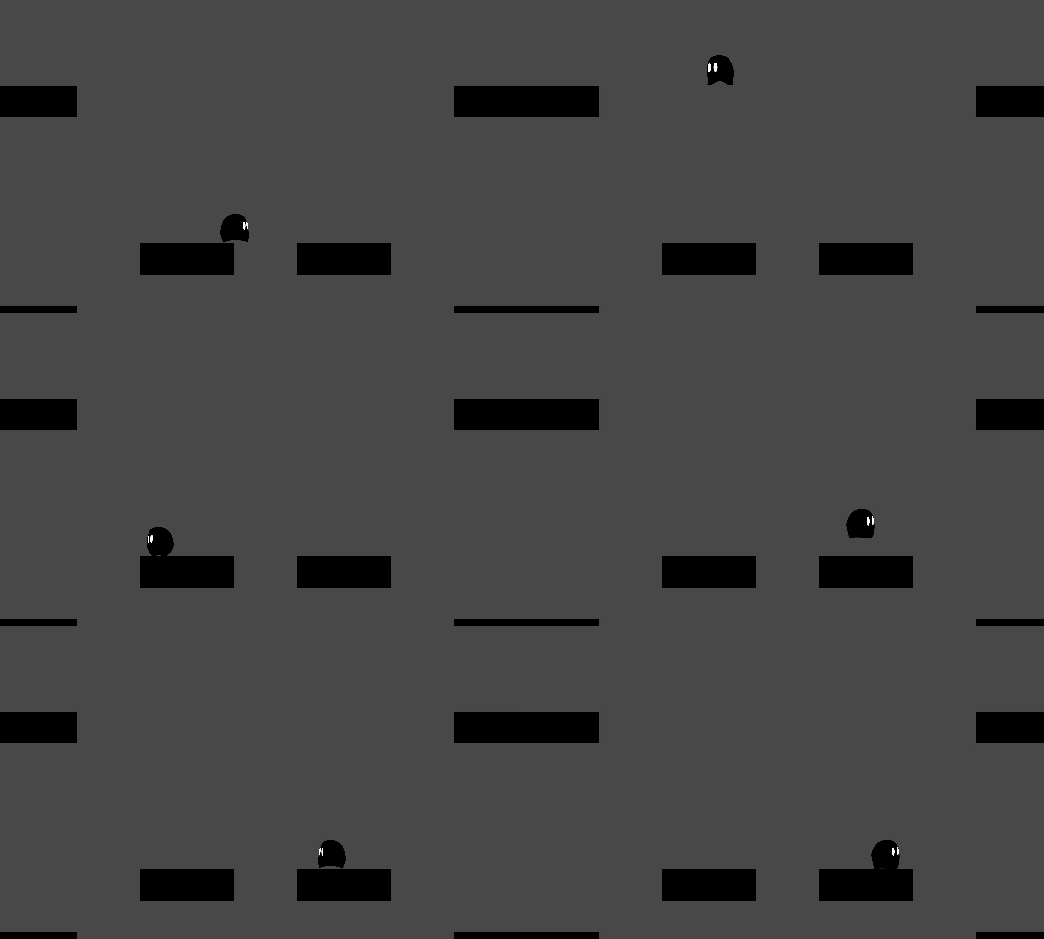
This animation posed a problem. I was given an 18 frame spritesheet, which lasts about half a second. However, when the player stops moving, I want the animation to stop on a static frame where the player looks like he’s standing still. If I just stopped the animation at the end of each cycle, a quick tap would result in all 18 frames being played out, which is too long.
To handle this, I instead identified two “static” frames, and used the following code:
if(!jumping) {
	var frozen = false;
	for(var i=0; i<num_keyframes; i++) {
		if(!frozen) {
			if(floor(image_index)==key_frames[i]) && (move==0) {
				image_speed = 0;
				frozen = true;
			} else {
				image_speed = base_image_speed;
			}
		}
	}
}
key_frames is just an array containing the two static frames.
Jump Physics
For the jump physics, which you can see briefly in that gif, I decided to use the “Mario system:” the player rises from the moment the jump butten is pressed until it is let go (or enough time has passed), at which point the player falls faster than it rose. Essentially, to accomplish this, we use a “state engine.”
The idea behind a state engine is separation of concerns. It’s supposed to make code more elegant by separating the blocks that impact state transitions and state actions. In our case, we essentially have three possible states, each corresponding to a different gravity value for the player: after the player has jumped but has not yet released the button, after the player has released the button, and once the player starts falling.
In the code, this looks like:
//STEP EVENT
if(key_jump) {
	jumpState = 1; // if you've just pressed jump
	if(vsp>0) { // if it's falling, but jump is pressed
		jumpState = 2;
	}
} else {
	if(vsp<0) { // if you let go but are still rising
		jumpState = 3;
	} else {
		jumpState = 2;
	}
}

... somewhere else ...

if(jumpState == 0) {
	vsp = 0;
} else if(jumpState == 1) { // rising
	vsp = vsp + grv;
} else if(jumpState == 2) { // just falling
	vsp = vsp + grv*2;
} else if(jumpState == 3) { // deccelerating to a fall
	vsp = vsp + grv*3;
}

... somewhere else ...

y = y + vsp * global.time_scale;
Structuring code this way allows us to do other things in the “somewhere else” sections. For instance, we handle collisions in between the second and third blocks since we want to use vsp for other calculations before we use it to update position.
Level Design
Here’s the initial level design
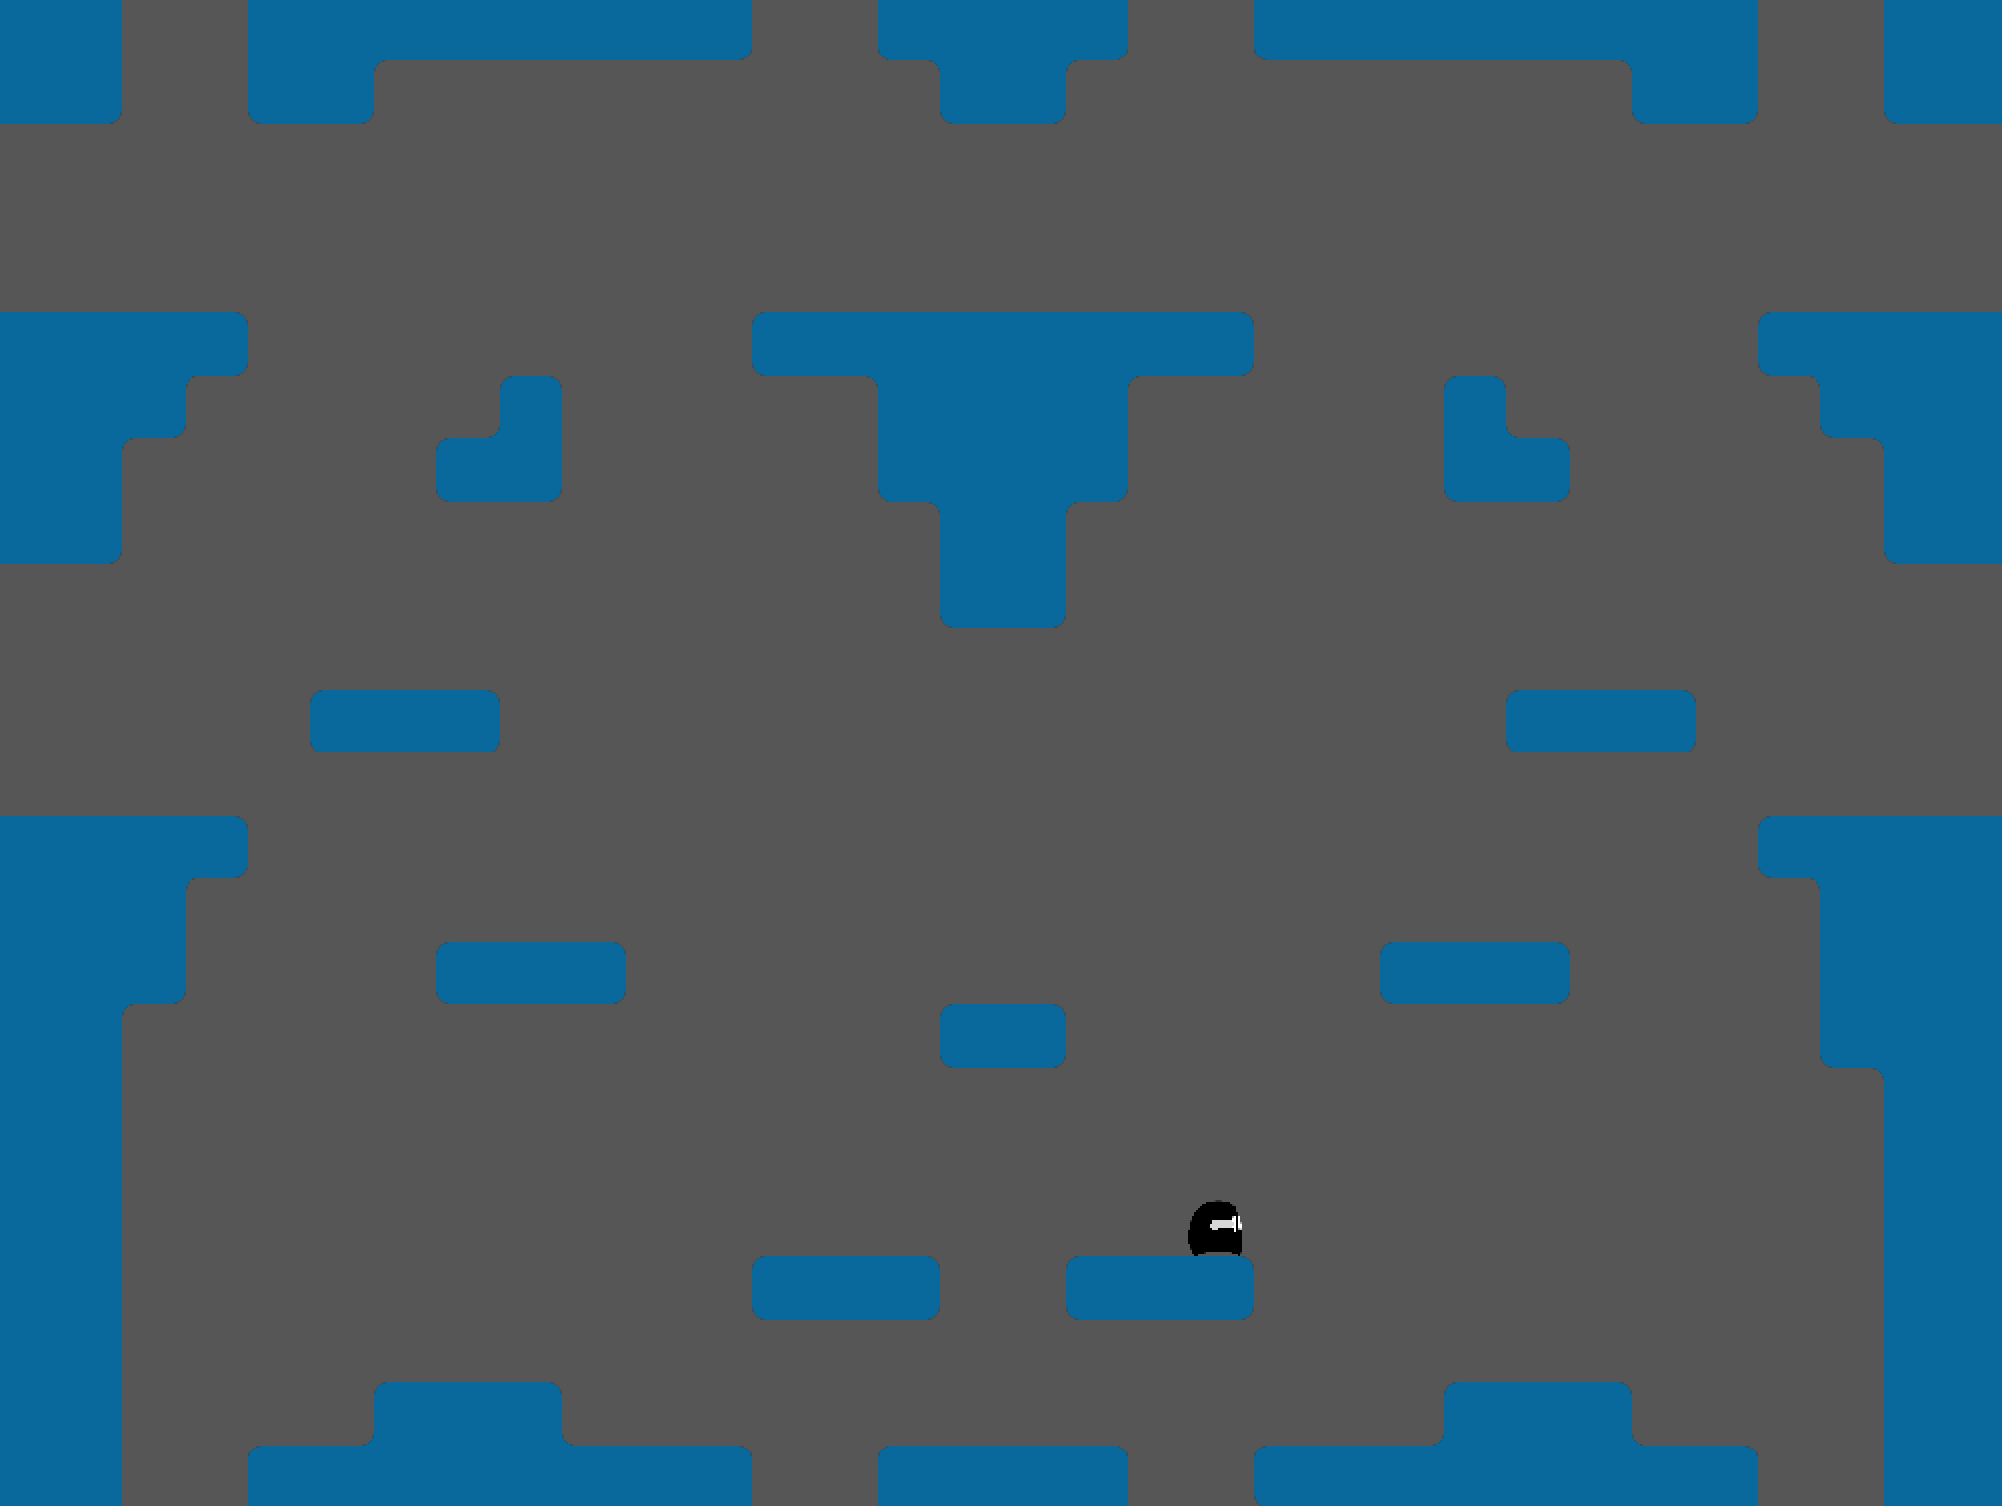
I wanted a level that felt natural and easy to traverse and fight in. Most of the action in a 2D platformer tends to happen towards the center of the screen. Therefore, I designed the level imagining that the player would primarily be towards that center. The surrounding platforms essentially allow the player to travel around the outside of this open area. Finally, there’s plenty of spots with room wrap, primarily to show off the mechanic.
Room Wrap
During this process, I decided to implement room wrap as well. This is because my game is designed around frantic chaos - that’s the whole point of the choice engine. I think that room wrap would add another layer to that insanity.
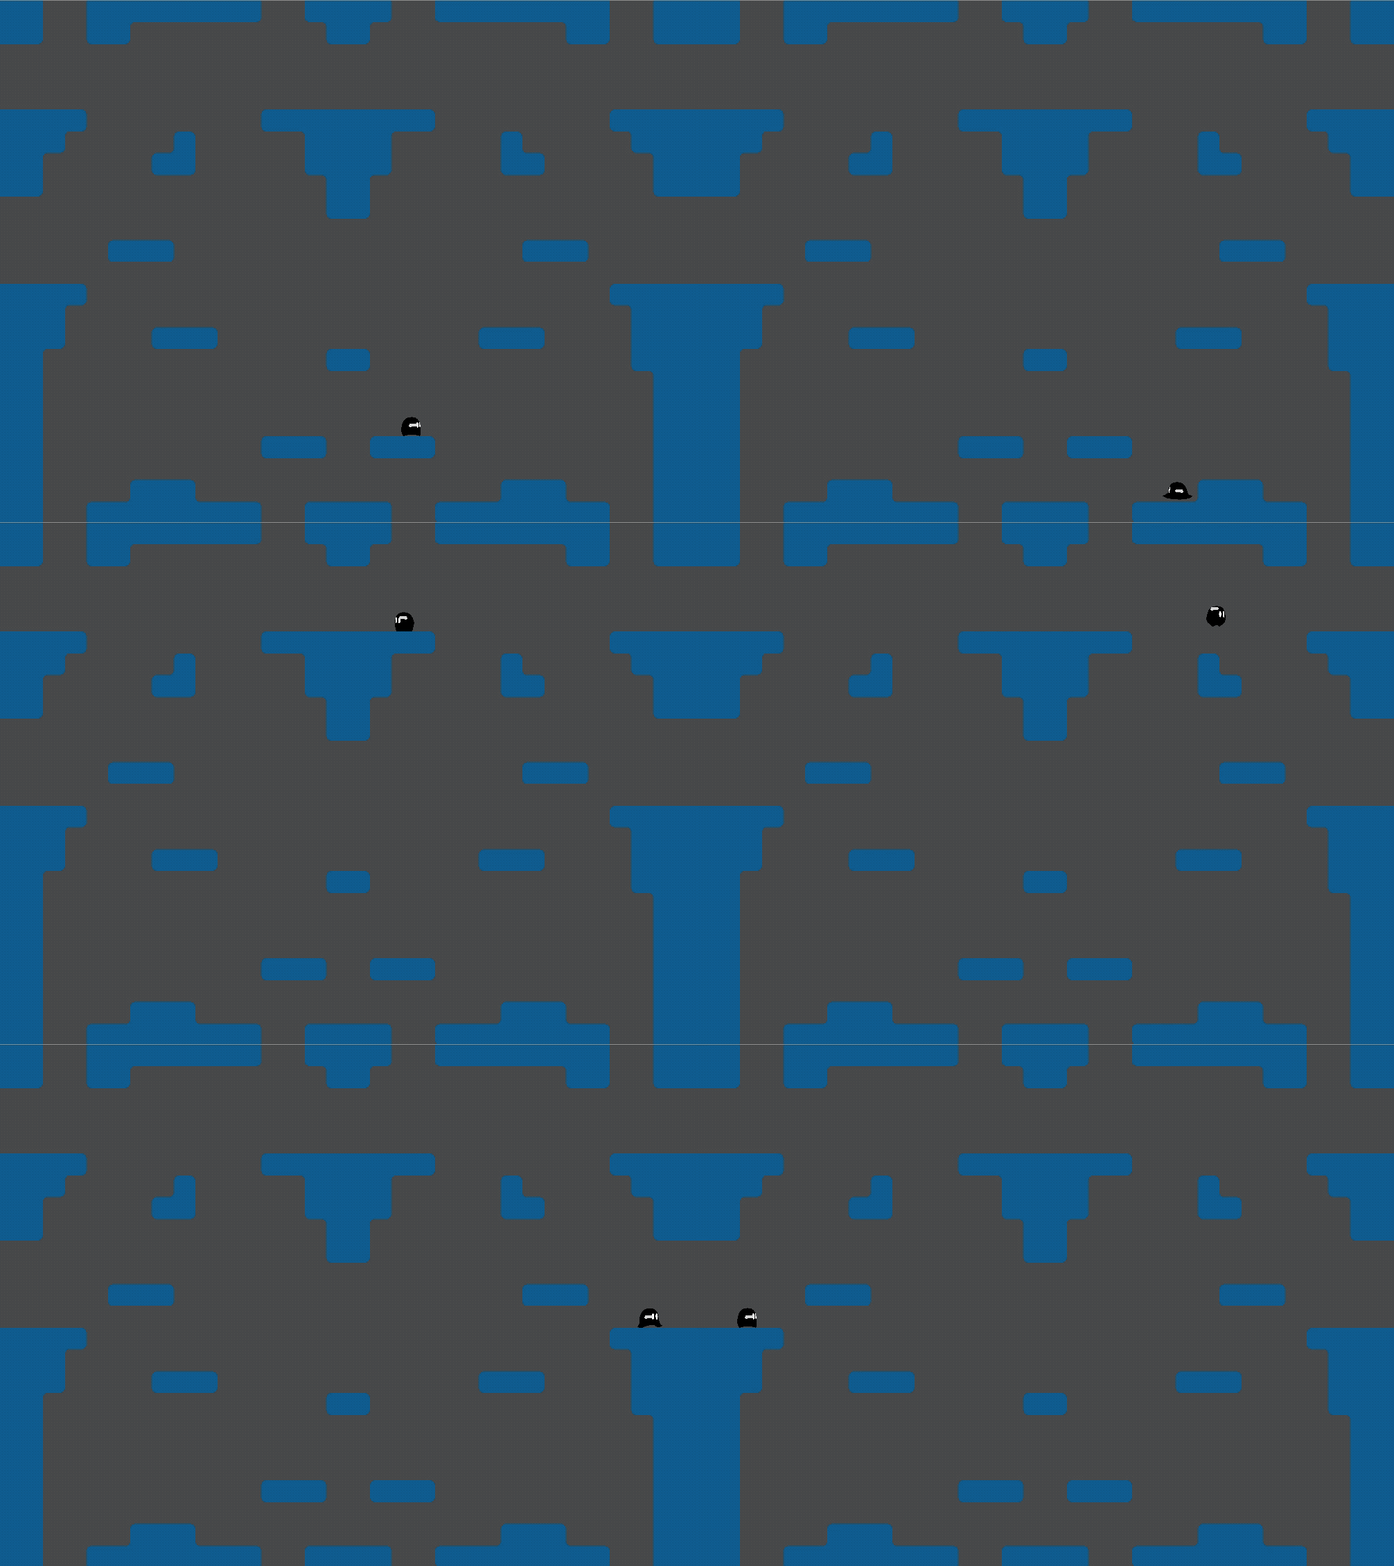
The code for this is fairly straightforward.
//STEP EVENT
if (x < 0) {
	x+=room_width;
} else if(x > room_width) {
	x-=room_width;
}
if (y<0) {
	y+=room_height;
} else if (y>room_height) {
	y-=room_height;
}
Gun Following
I wanted to make the player’s gun lag a little behind the player to convey a sense of weight. To do this, I just track the last few positions of the player in a global array, from which I calculate the gun position.
HP Bars
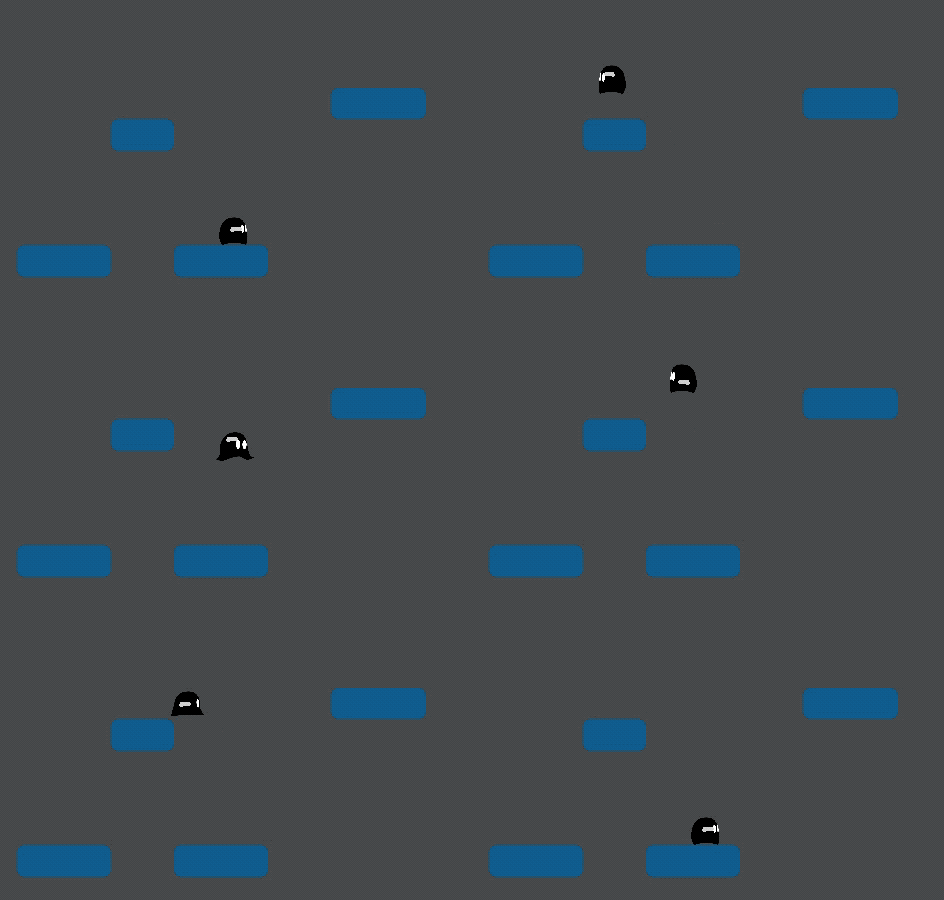
I implemented HP bars on both the enemies and the player for when they get hit. This one is the player:
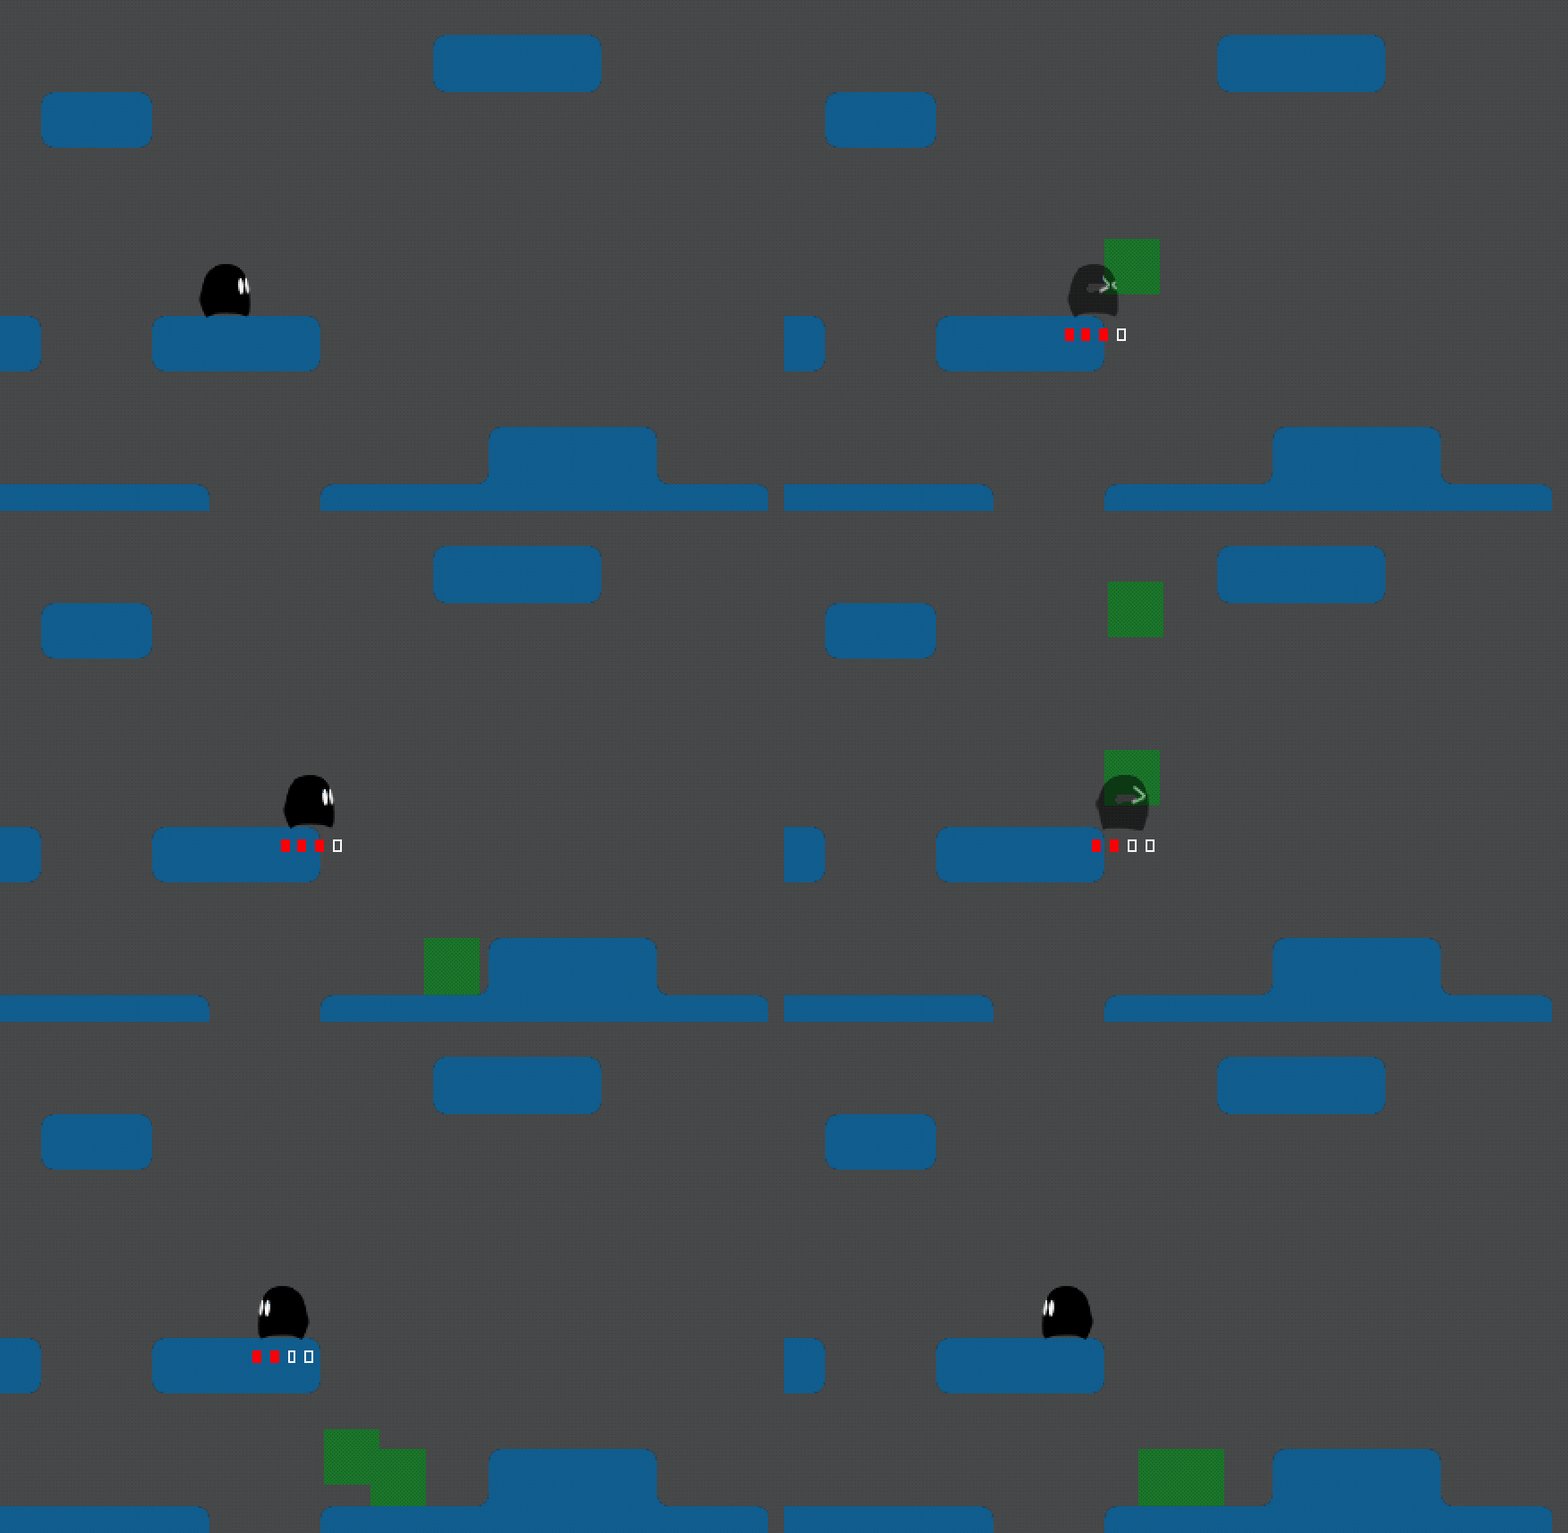
And this is the enemy:
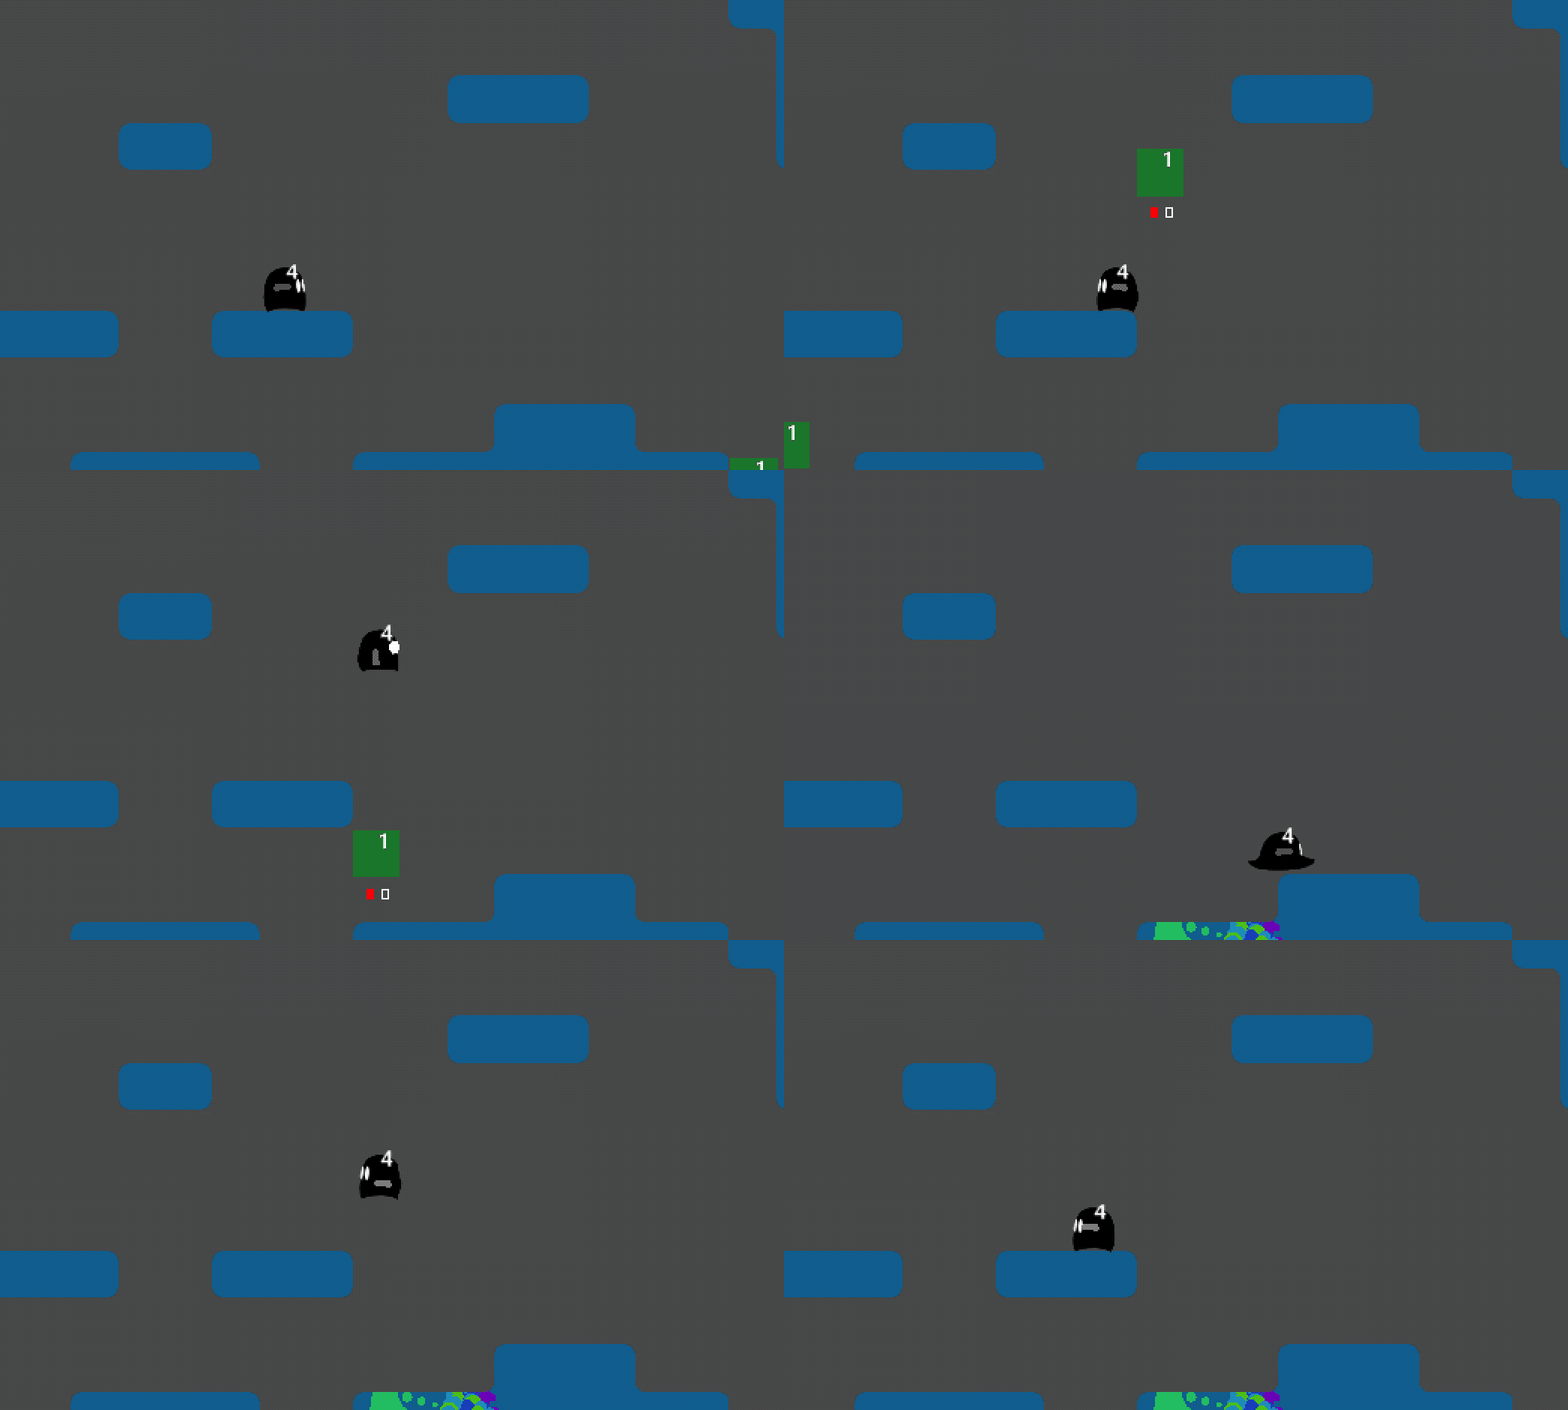
(The white numbers are just for debugging.)
Enemy AI
The last thing I did was design and create a simple enemy AI. I wanted enemies that:
- Seemed like they moved randomly so that the player is forced to go towards the enemy
- Would get close to the player over time so that the player cannot just camp out in one spot
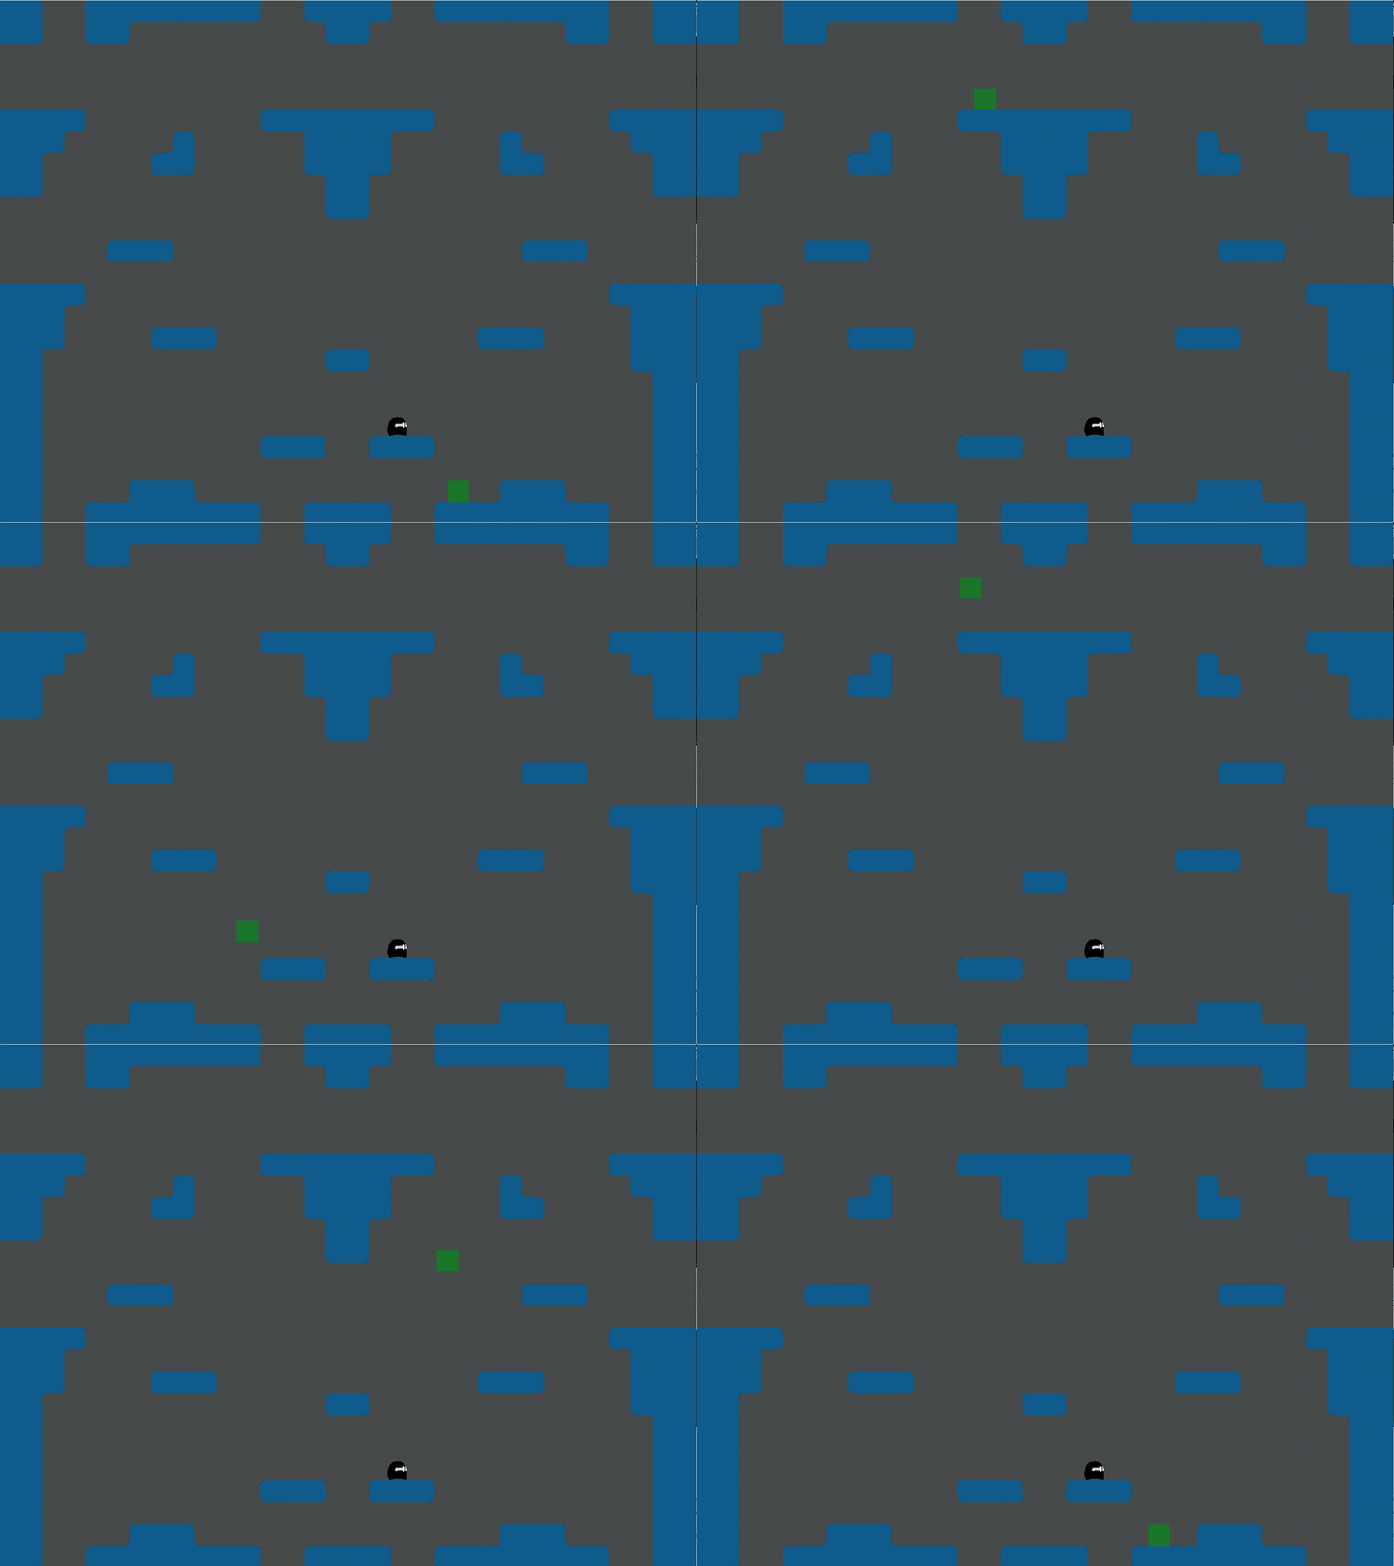
To accomplish this, I decided to have the AI wait around for a bit, then “consider its surroundings,” then pick a direction to move again a bit afterwards. When it stops, it picks the direction closer to the player, then is locked into that direction for the duration of the movement phase. This behavior is somewhat erratic and almost roomba-like, but approaches the player over time.
Here’s a pseudocode algorithm:
- Step 1: Pick direction (left or right) which is closer to player
- Step 2: Move for 3 seconds in that direction without changing (unless a wall is run into)
- Step 3: Wait for 3 seconds. Back to step 1.
Next Steps
Next, I still have to tackle two major cornerstones of my original idea: the choice engine and the splatter effect. From there I can start polishing things up.
Ablobalypse
A choice-based arcade platformer.
More posts
- The Devblog ArchivesApr 30, 2020
- 10-Week EvaluationApr 30, 2020
- Day Five - Art and Music (and Playtesting)Apr 30, 2020
- Day FourApr 30, 2020
- Day Three - Implementing ChoicesApr 30, 2020
- Day Two - Choice Engine, Splatter Effect, Animations, and ABLOBALYPSEApr 30, 2020
- Nov 10 Status UpdateApr 30, 2020
- 5-Week EvaluationApr 30, 2020
- Development Snapshot (October 9th, 2017)Apr 30, 2020